The OSN Portal
OSN manages resource allocations through the OSN Coldfront Portal. Through the OSN portal, users can view and manage their OSN projects and request OSN S3 storage buckets.
warning
OSN portal organization
The OSN portal organizes OSN allocations into two tiers:
- OSN Projects identify the full allocation and have an OSN Network Quota (TB). If you’re an ACCESS user, this is the amount you requested for your project during your exchange request.
- OSN buckets represent one S3 storage bucket within the project. A project may have many buckets as long as the sum of the bucket quotas does not exceed the project quota.
Within each project, you can view OSN buckets allocated to that project, add grant and publication information, and view project quota use and descriptive information. Additionally, Principal Ivestigators (PIs) can add additional authorized users, designate “project managers,” and request OSN buckets.
info
Using the OSN portal
Log in
- Navigate to the OSN portal.
- Click the “Log In” button.
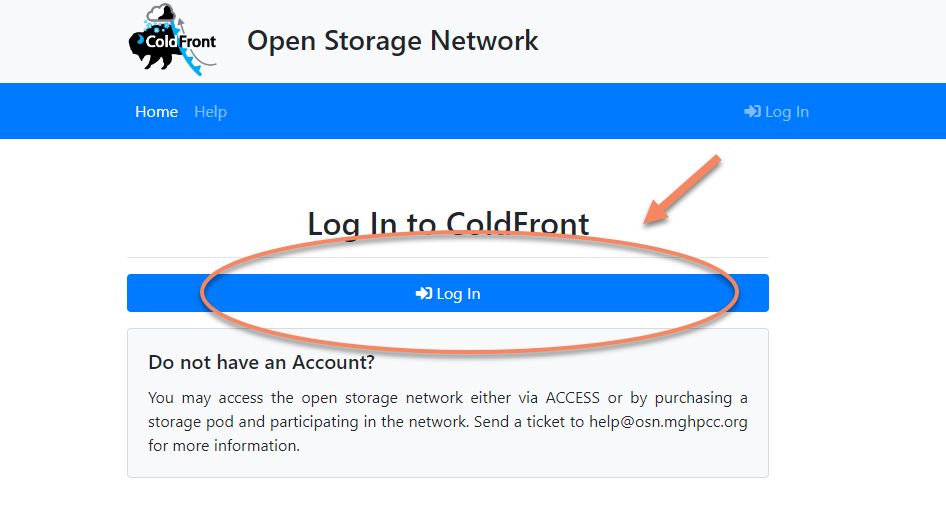
- Choose the “Log in with institutional account” option.
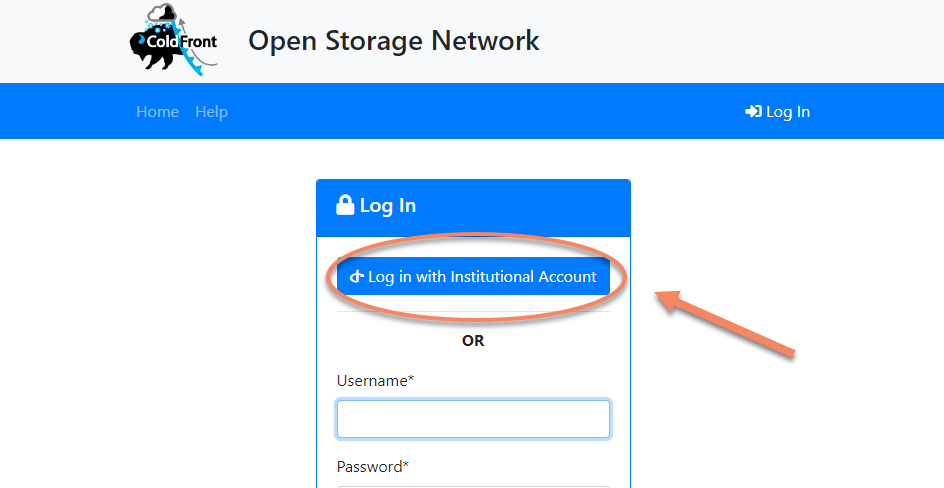
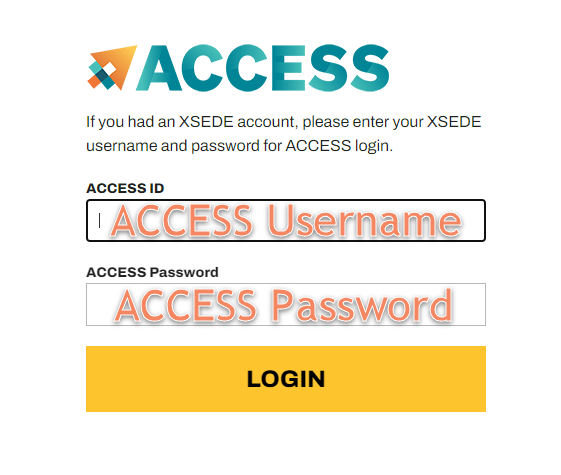
- Choose an identity provider. If you’re an ACCESS user, you must choose the “ACCESS CI (XSEDE)” identity provider from the dropdown.
report
In order to use the ACCESS CI (XSEDE) identity on OSN, you must have a password set in your ACCESS account. If your account doesn’t have an associated password or you don’t know what it is, visit the ACCESS Identity portal to set or reset your password.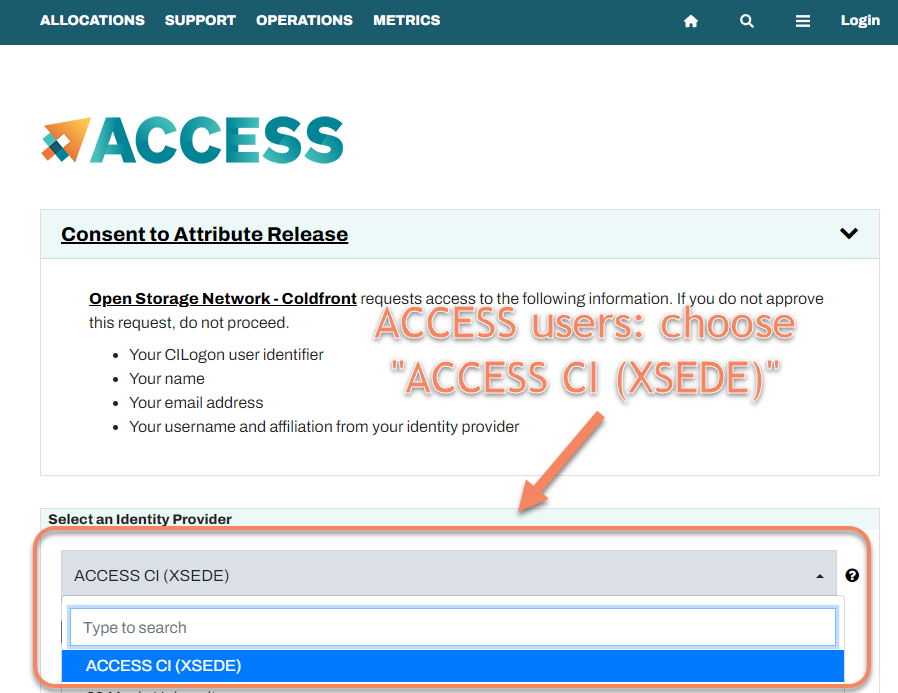
- Log in with your ACCESS username and password or relevant credentials for your identity provider.
- Verify that the username on the navigation bar matches what you expect. If
you’re an ACCESS user, it should say
<username>@access-ci.org (ACCESS).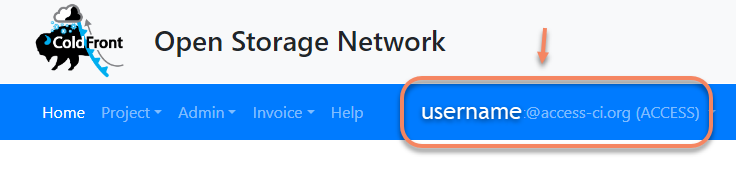
View projects
After logging in, you can view your project list by navigating to Project > Projects
in the navigation bar menu. The project list shows each project your user has access to,
whether you’re PI of the project or a user.
warning
<NAME>@access-ci.org on the right side of the
navigation bar. If not, please log out and
log back in using your ACCESS credentials.
If you need assistance, please email help@osn.mghpcc.org.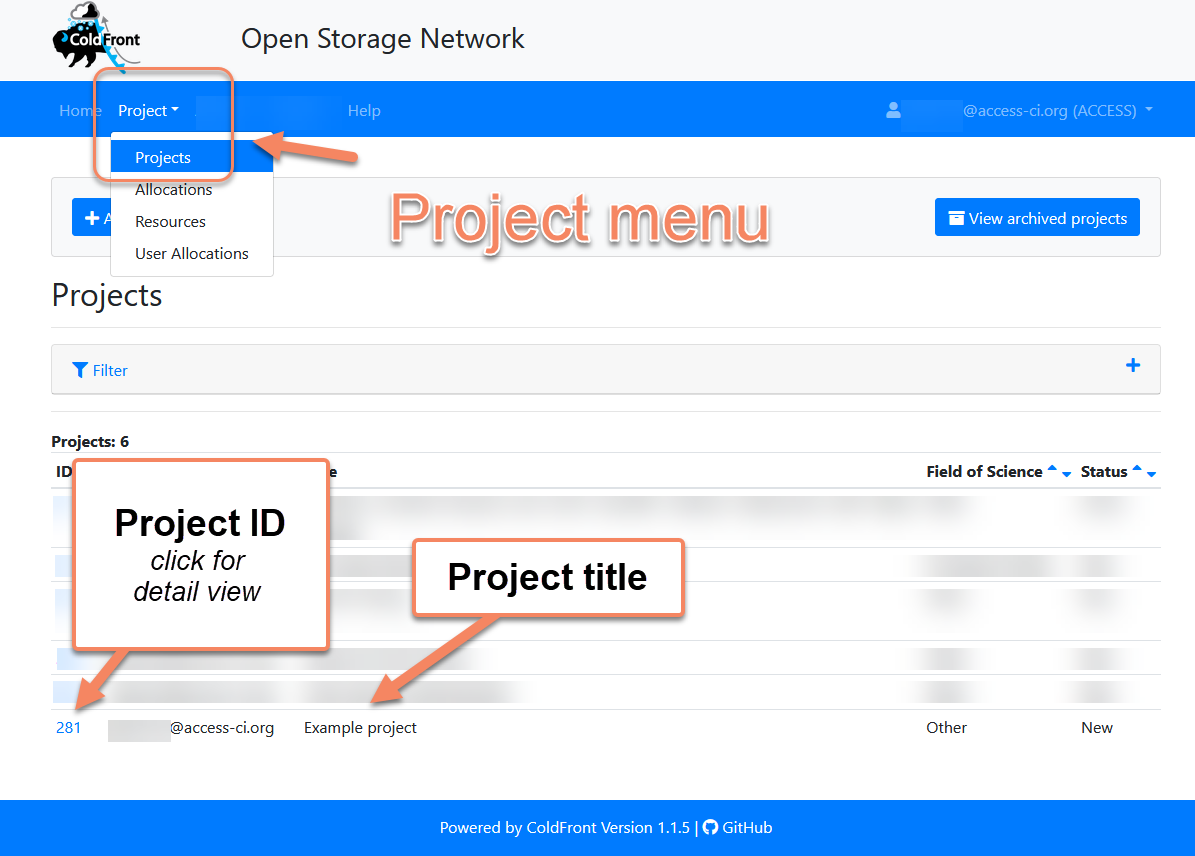
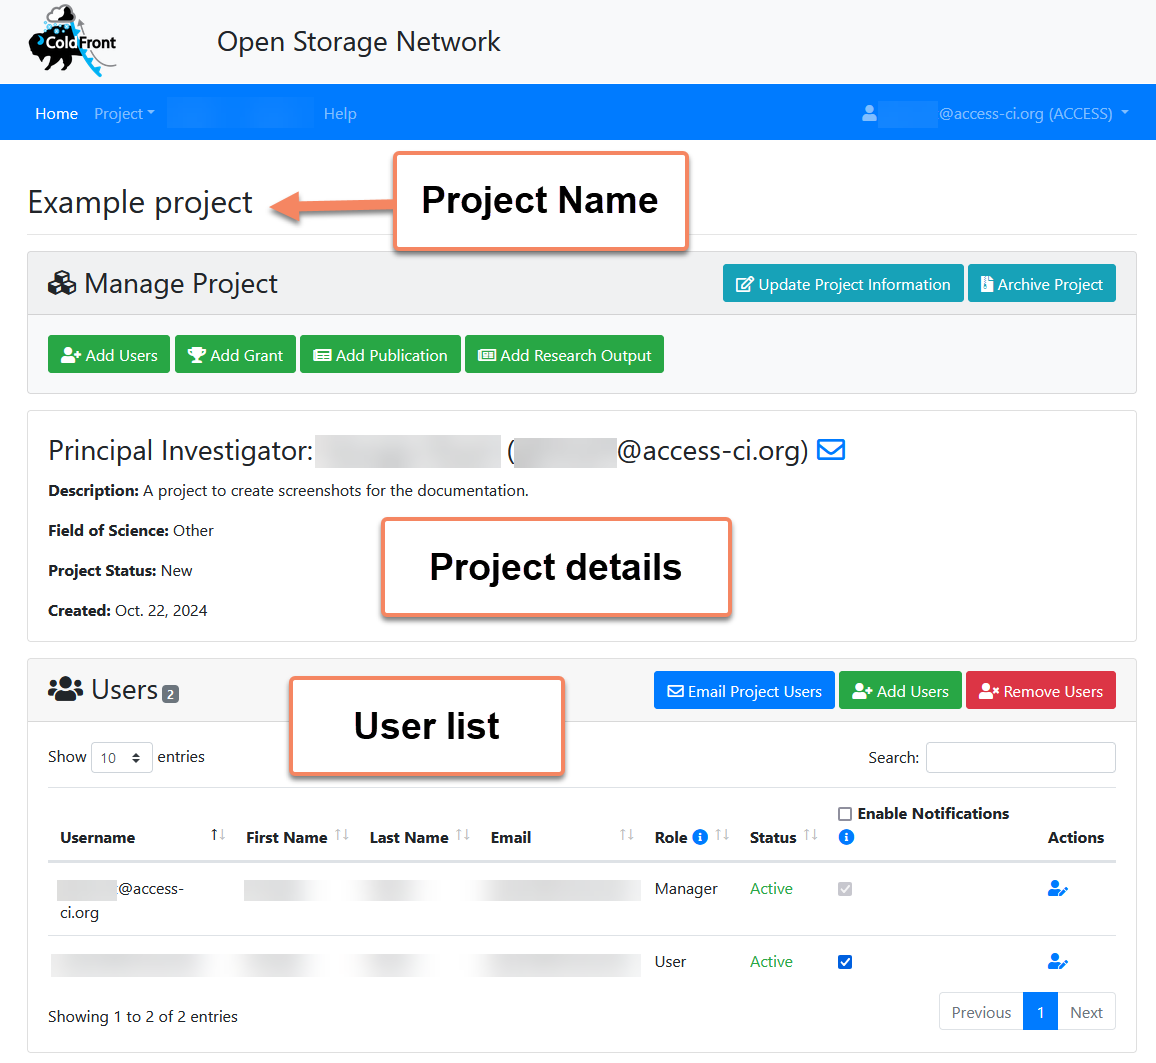
To view project details, click the linked “Project ID” number associated with the project. The Project detail view displays all the information associated with a project, including
- Project name and details
- Project user list and roles
- Allocations
- Attributes (Metadata)
Manage user permissions
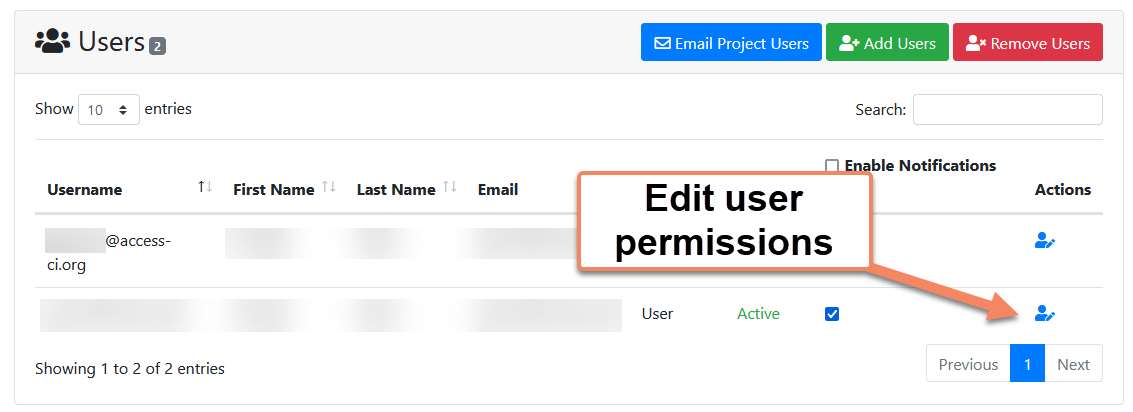
Project managers can also add and edit users on the project detail page.
report
Project PIs are automatically granted “manager” status. To designate additional project managers:
- Click the blue person icon on the right side of the target user’s
row to view their project-specific detail page.
- Toggle their role to “manager” in the Role dropdown.
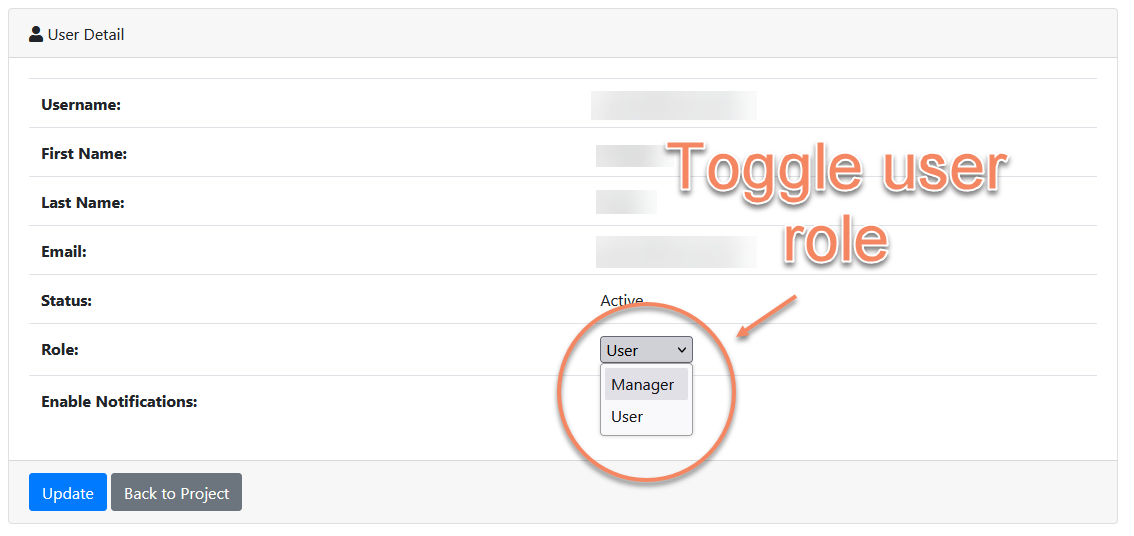
- Click the Update button to save the role change.
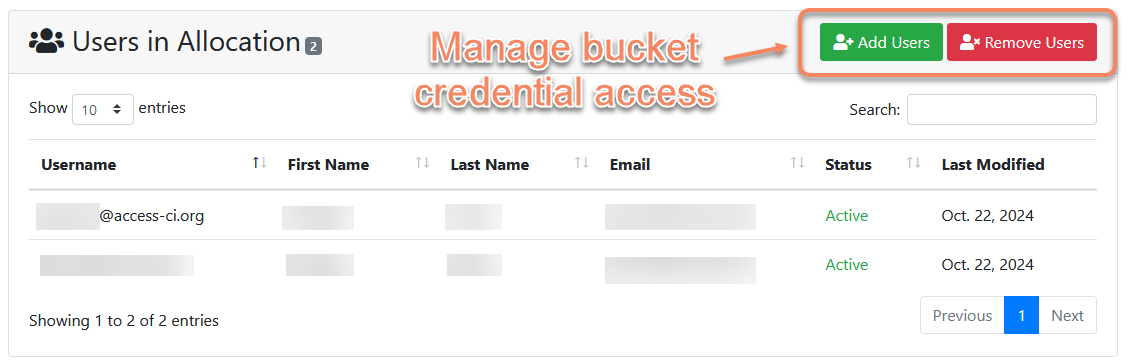
Assign users to specific buckets
Project managers can allow or disallow access to view bucket credentials to each user in the project.
warning
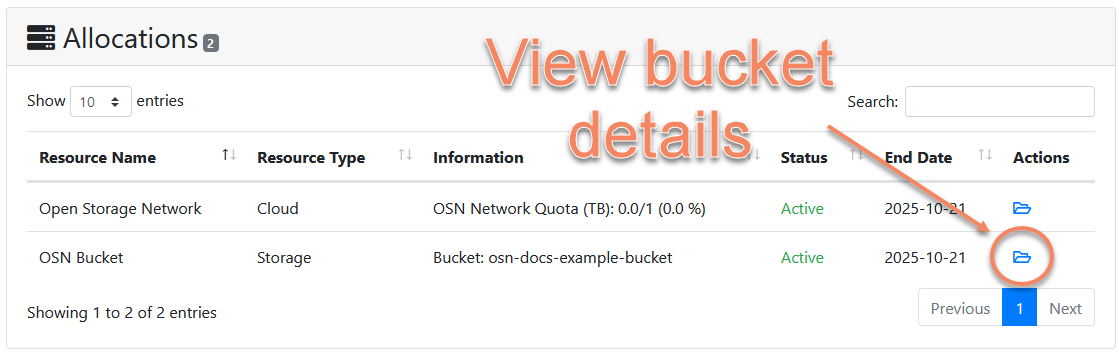
To add or remove a user’s access to a certain bucket:
- Navigate to the “Allocations” section on the project.
- Click on the “allocation detail” button in the row corresponding with the bucket to modify.
- Use the “Add Users” or “Remove Users” options to manage access.